Download the Ledger Live crypto wallet app
Get the Ledger Live crypto wallet app and seamlessly manage all your web3 assets in one secure place.
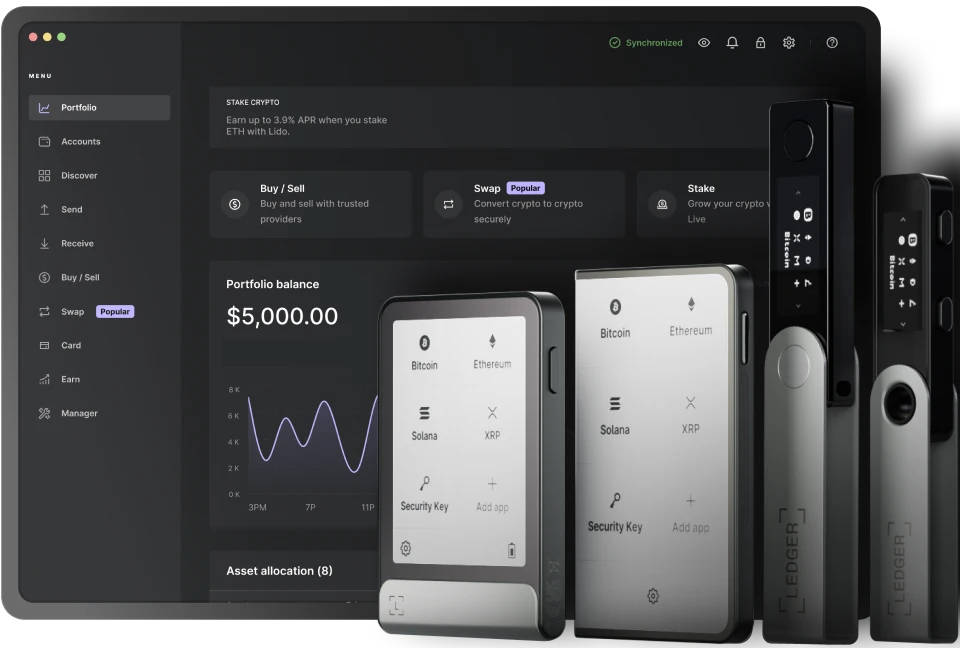
Ledger Live Desktop
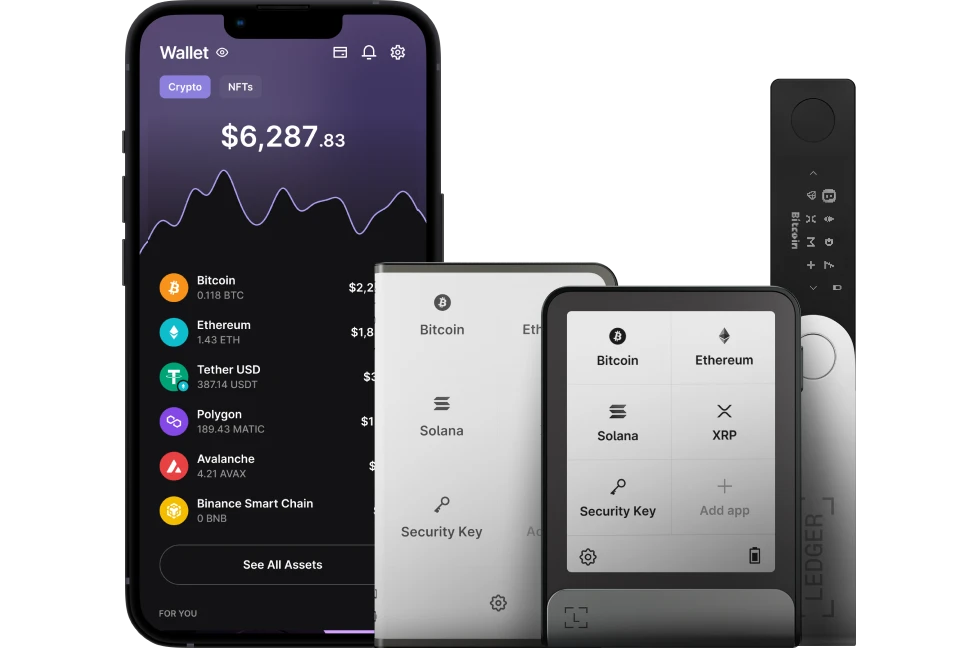
Ledger Live Mobile
Review and sign transactions from a single secure screen with Ledger Flex™